Sewing clothes by yourself is an exciting and rewarding experience. Have you ever found yourself in need of a quick fix to your torn sleeve or a missing button on your shirt? Or maybe you’ve thought about designing and sewing your own clothes or pillowcases? Whatever your reason may be for thinking about getting into sewing, there’s no doubt that the skill is important and brings you a lot of value.
At first glance, you might get intimidated by the different things you need. Unusual sewing vocabulary may sound confusing to you. Don’t worry as these can be learned easily and there are plenty of ways to learn quickly!
The good news is sewing isn’t too difficult to learn at all. As with any other skill or craft, the key to learn is to try and practice multiple times. This allows you to hone your skills and find your own technique as a sewer. To begin, you must be guided properly to ensure you learn to sew efficiently and at your own pace.
How to Choose a Sewing Machine
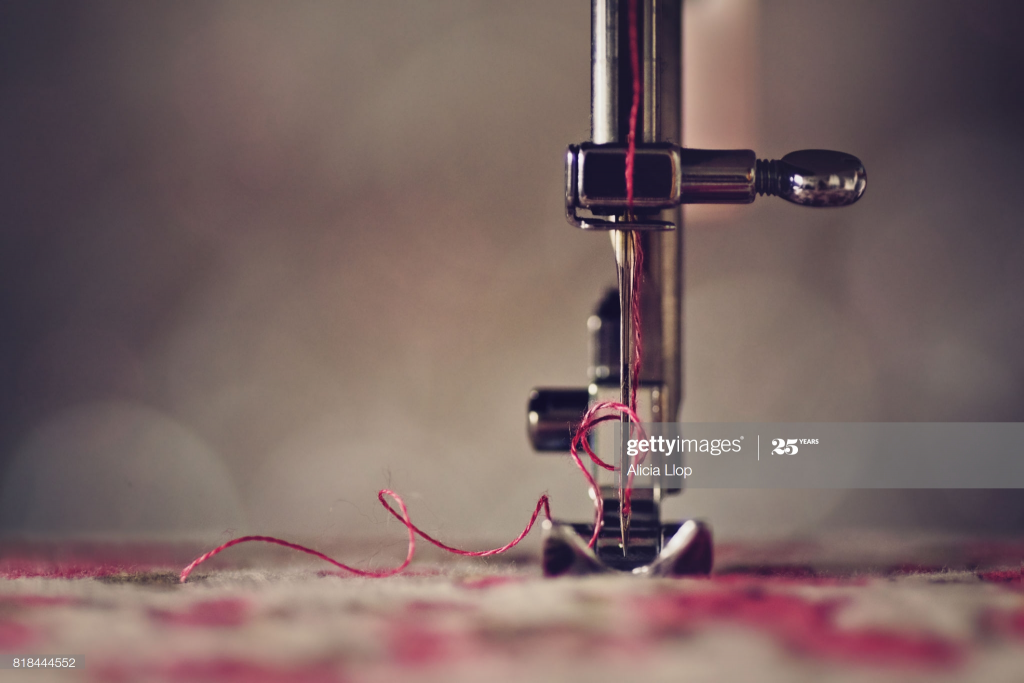
As a sewer, your main equipment will be a sewing machine. This will be your biggest investment that will surely give returns in the future. If you have no idea about sewing machines, it might be tricky to choose which one to get. There are certain things to look for in a sewing machine.
The first thing to consider is how much you’re willing to spend. From here, you can narrow down the choices of sewing machines. Do you want to get a full-function, powerful sewing machine? Or do you want a basic sewing machine that can do simple work? All of these are important questions to ask prior to shopping for your sewing machine. Some also prefer to buy used, vintage sewing machines.
You also have to choose whether you’re going to purchase your sewing machine in-store or online. There are pros and cons to each. When buying in-store, you have the privilege of seeing and trying out the sewing machine first hand. Meanwhile, purchasing sewing machines online may come with discounts. Moreover, it’s also convenient to order online as you only have to wait for it to arrive at your doorstep.
If you are still confused and need some recommendation, check this article for best Brother sewing & embroidery machine review and buyers guide.
Before sewing
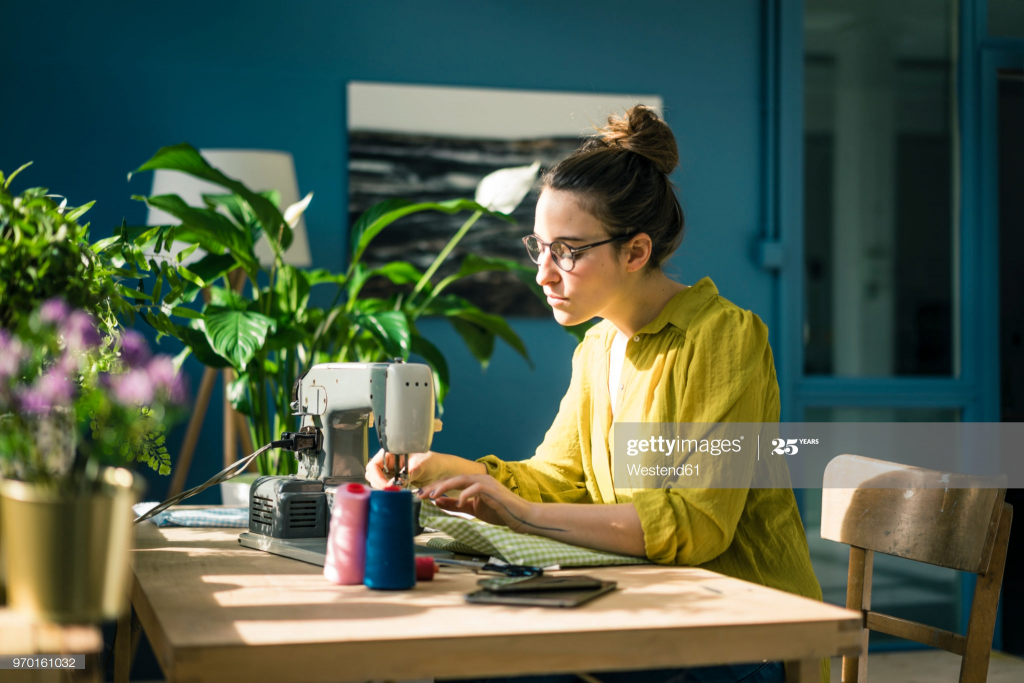
There are a few things to keep in mind before trying to sew clothes with your new machine. This is especially if you are a beginner. Refer to your sewing machine manual on how to set up your machine. Take time to read the manual carefully before attempting to operate. Practice the basics of operating such as threading. Play around with the settings of the machine, too!
Gather all the necessary materials to sew clothes prior to operating the sewing machine. These include your sewing kit basics like fabric shears, thread, pins, seam rippers, and other tools. It’s recommended to brush up on your sewing vocabulary while you’re reading the manual. Words like interfacing and baste are words referring to sewing that may be new to you. You can look them up through a simple internet search.
Let’s Begin!
Now that you’ve successfully prepped for your first sewing session, it’s time to start! After all, you can’t learn how to sew clothes by just reading the manual. Sewing is learning by doing.
If you personally know anyone who knows how to sew, it’s a total plus to have him or her guide you through the process. Having someone personally guide you through each step is easier and more effective. There are also sewing classes you can take locally. Some sewing machine stores even offer a couple of sessions for free if you buy a machine from them. So watch out for those deals!
However, if none of those is an option for you, there’s nothing wrong with trying to learn how to sew on your own. Most people learn it easily by themselves and so can you! Try making a straight stitch on a piece of scrap fabric and see how well you do. This is the easiest way to find out if you’re learning. You’ll also learn some sewing machine basics such as turning knobs to adjust and dials, aligning the fabric, setting up the bobbin winder, thread guide and spool pins, and etc.
Sewing Patterns
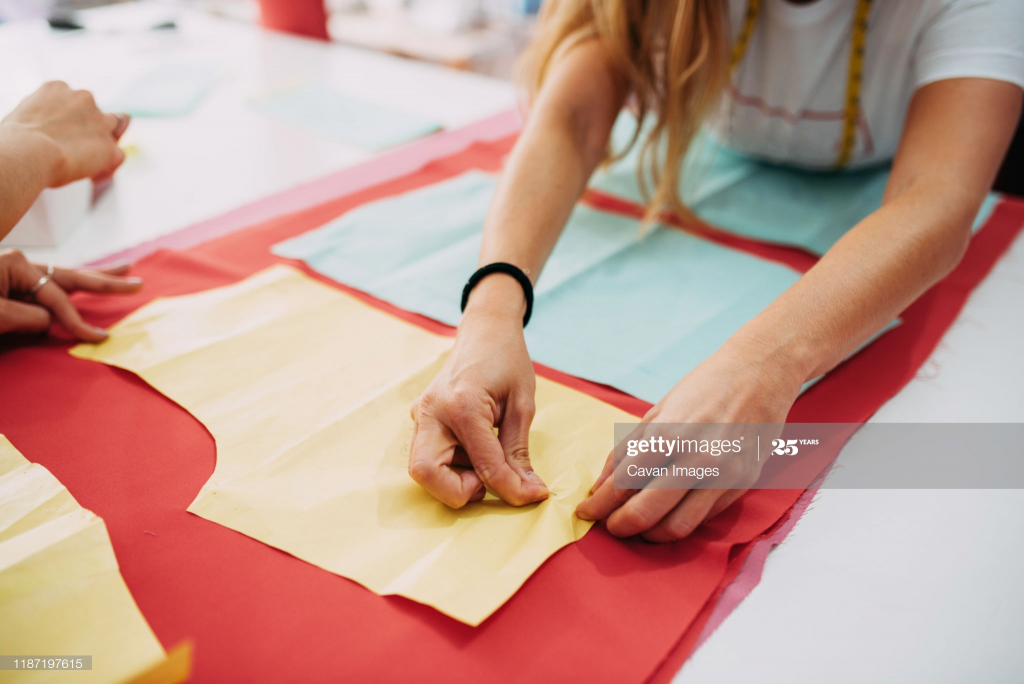
You probably heard of sewing patterns before but don’t exactly know how it works. A sewing pattern is basically a complete guide on how to sew a certain garment. They are usually on thick paper or cardboard. It is composed of dots, darts, and buttonholes. You should be able to identify these on your sewing pattern.
There are plenty of places where you can get beautiful sewing patterns for cheap or sometimes even free. It’s recommended to begin with easy patterns when you’re just starting. These are typically ones that have short and clear instructions; with fewer parts of the fabric to be sewn together. Once you get the hang of following patterns, you can proceed with more difficult ones.
For garments, kimonos, pull-on dresses, and pullovers are among the easiest to do. They don’t usually require stitching many parts together. Patterns are usually not that complicated either.
Don’t go ahead with transferring the pattern onto the fabric. Read the pattern and understand it as much as you can to minimize mistakes. You will need pins to secure the pattern and the fabric. Use marking tools such as a fabric pencil to help you with the pattern.
Sewing Techniques
1. Making the perfect seam.
Before thinking about taking on big projects like crafting a nice summer dress or making your own pair of jeans, it’s important to stick to the basics. Making a seam is a common and repetitive technique you will do when sewing clothes. First, pin the two fabrics together and place it under the sewing machine needle with an allowance of about ¼ inch. Run the seams and do a backstitch once you reach the end.
2. Finishing a seam
Seam finishes are different from sewing seams. They are made to secure a seam and prevent its fraying. This part is as important as making the actual seam. There are different types of seams and it is up to you to choose the appropriate seam for the fabric you’re working with.
Different seams have varying strengths and fabrics prone to fraying like woven fabrics require strong seam finishes. However, some sewers also consider a seam finish’s aesthetic appeal on the garment or fabric.
A clean finish is one of the most commonly used types. It’s simply a straight stitch to make a finish. Meanwhile, a flat felled seam requires double stitches. Some sewing machines have this setting already.
Zigzag finishes are also used by some sewers as an alternative to a clean finish. For some projects, a pinked seam finish will do. It requires no extra stitching and just done by cutting the fabric with a pair of pinking shears.
3. Sewing darts
On patterns, you will typically see darts. You need to learn how to transfer these patterns on your fabric. Normally, darts have one to two pointed ends and curves. These can be used to fold the pattern to help make the dart. Then, transfer the dart marks onto the fabric and use a pin to hold it in place. You need to make sure that the marks stay put while you sew. Don’t run the sewing needle over the pins.
Begin sewing at the edge of the dart and make a backstitch. As you reach the dot or point in your dart, shorten your stitch length and leave excess thread before you cut it off. You can simply knot the thread by hand.
4. Sewing on buttons
When sewing clothes, you often come across sewing buttons as well. There are different types of buttons you can use on your garment; each of them has a specific way of sewing onto the fabric.
If you wish to sew buttons by hand, you’ll only need a hand sewing needle and a thread. Your thread color should blend in with the button and fabric. Other sewers also choose to make buttons or threads stand out as part of the design.
Flat buttons are the most widely used type for clothing. Mark the points in the fabric where you want the buttons to be. Thread the needle and place it on the backside of the fabric where your mark is. Then, pull it back up onto one side of the button. Then, thread to the other side of the button. Do this a couple of times to anchor the button to the fabric. Make sure to allow a small space between the button and the fabric. Secure the stitch with strong knots. Some sewers use fabric glue to reinforce the knots.
Shank buttons are another type of button. These buttons are typically globular and have a small protrusion at the back through which the thread is anchored to the fabric. The process is a lot similar to flat buttons. The only difference is that shank buttons typically have only one hole while flat buttons may have 2 or more.
5. Sewing on corners
If you plan on sewing pillowcases or other materials with angles, you’ll end up sewing corners. Most sewers’ problem is when corners stick out. It’s an eyesore especially when it comes to pillowcases.
To avoid this, you want to create a sharp corner by leaving an allowance for the seam. Mark the fabric’s corner to guide you when to pivot when you’re stitching. It’s also important to trim your fabrics precisely to allow for smooth seams.
6. Interfacing
Interfacing confers shape, structure, and support to a garment. It makes certain parts of the garment rigid. There are a few types of interfacing: very lightweight, sew-in and fusible. Lay the interfacing fabric on top of your main fabric on an ironing board. Make sure the fusible side or the bumpy side is facing the main fabric.
Meanwhile, sew-in interfacing fabrics are ideal if you don’t like ironing the fabrics down or you just simply want to sew it on. Place a damp cloth on the interfacing fabric and use an iron to press down. It’s not recommended to slide down the iron when applying the fusible fabric. Move the iron up and set it on to another place on the fabric you want to iron.
7. Easing, Gathering, and Shirring
Easing is pushing fullness to a small area without creating pleats. This technique is typically used in arm sleeves of garments. Meanwhile, a gathering is similar to easing except that the fullness is a lot more obvious. Shirring is created by many gatherings to show fullness. This is done through multiple rows of parallel stitching.
When doing these, you may want to practice on scrap fabrics as these are more advanced techniques. With a few tries, you’ll hopefully get the hang of it and successfully perform it on your own.
8. Creating a shoulder seam
A good sewing pattern is what you need to create a perfect shoulder seam easily. You’ll need exact body measurements to create this accurately.
What to Sew?
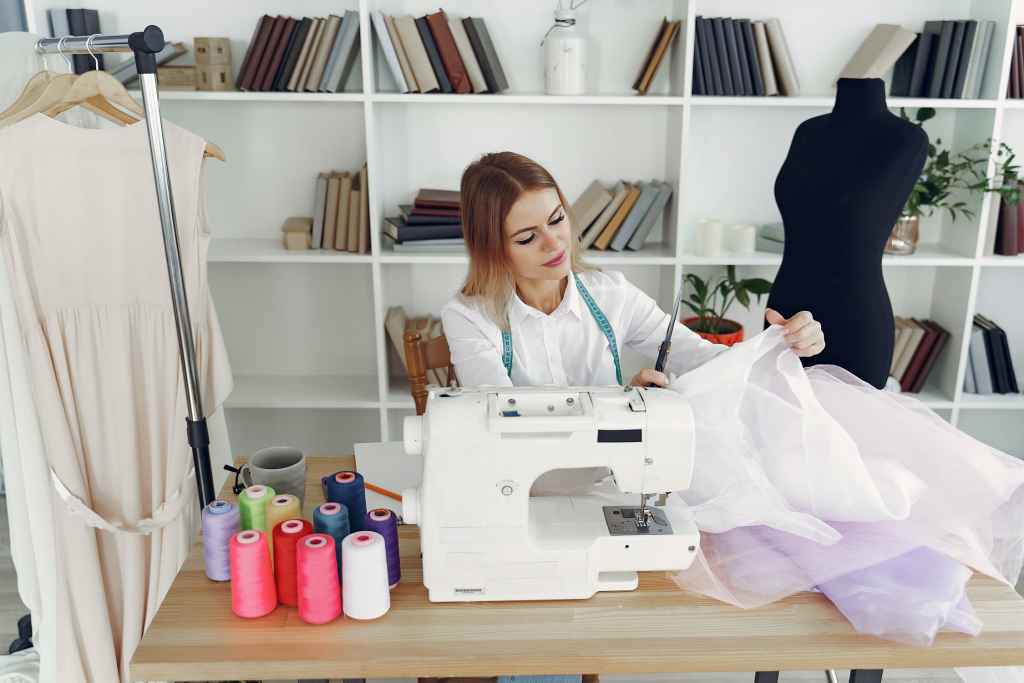
Have a sewing machine and gone through the basics of machine sewing but don’t know what to sew? Don’t worry. We’ve given you a list of 15 things you could sew easily, ranging from clothes, crafts, pillowcases, and many more!
- Lanyard
- Purse
- Pencil case
- Tissue holder
- Baby blanket
- Face mask
- Pot holders
- Socks
- Laptop or tablet sleeve
- Headband
- Keychain
- Tote bag
- Dish towels
- Paper organizer
- Simple kid costumes
Hopefully, the comprehensive sewing guide above gives you a jumpstart on sewing clothes. Spruce up your closet, your bedroom, or living room by creating beautiful garments, curtains, pillowcases, and other creations with the help of your sewing machine.Just keep on practicing to see improvement in your results. If you’re having a difficult time, don’t hesitate to step back and go over the instructions. If possible, you can ask for a friend or relative’s advice to guide you through the process.

